
How to Use a System Restore Point in Windows 11
Roll Windows back to an earlier restore point, even when your PC won't start normally.
Keep your PC running smoothly. Once Windows is back to normal, WinZip System Utilities Suite cleans junk files, updates drivers and manages the apps that start with Windows.

Quick Answer
To roll Windows 11 back to a restore point:
- Search for Recovery in the Start menu, open Recovery (Control Panel) and select Open System Restore. Or press Windows key + R, type rstrui.exe and press Enter.
- In Restore system files and settings, select Next.
- Pick a restore point from before the problem started. Tick Show more restore points if you need an older one.
- Optionally select Scan for affected programs, then select Next > Finish. Windows restarts by itself.
- If Windows won't start, open the Windows Recovery Environment and choose Troubleshoot > Advanced options > System Restore.
How you know it worked: Windows restarts on its own, and the problem that began after the app, driver or update you rolled back is gone.
System Restore takes your PC back to an earlier point in time. It's the tool to reach for when something changed recently and Windows hasn't been right since: you installed a program and now the PC won't start normally, a new driver caused trouble, or Windows misbehaves after an update.
A restore point is a snapshot of your system files, installed programs, Windows Registry and system settings. Windows can create restore points automatically during significant events such as installing software or updates, and you can create one yourself. Restoring returns those system files, settings and programs to how they were, but it leaves your personal files alone. Apps, drivers and updates installed after the restore point may be removed.
The steps below work on Windows 11 and Windows 10. Where the menus differ, the Windows 10 path is given too.
1. Make Sure System Protection Is Turned On
Microsoft notes that System Protection, the feature that makes restore points, is not turned on by default. If it's off, you won't have any restore points to go back to, so check it now while your PC is working.
- Select Start, type Create a restore point and select it in the results. You can also press Windows key + R, type systempropertiesprotection.exe and press Enter.
- In System Properties, on the System Protection tab, select your system drive and then Configure....
- Select Turn on system protection.
- Use the slider to choose the most disk space restore points are allowed to use.
- Select Apply.
Expected result: the System Protection tab shows protection as on for your system drive, and Windows starts creating restore points automatically when needed.
2. Create a Restore Point Before Big Changes
Automatic restore points are useful, but making your own before a big change (a new driver, a system tweak, an app you're not sure about) means you know exactly which point to return to.
- Open Create a restore point from the Start menu, as above.
- On the System Protection tab, select Create....
- Type a description you'll recognize later, such as "Before printer driver", and select Create.
Expected result: the next time you open System Restore, your restore point is in the list with the description you typed.
3. Restore Your PC From Windows
If Windows still starts, run System Restore from the desktop.
- Search for Recovery in the Start menu and open Recovery (Control Panel). Then select Open System Restore. As a shortcut, press Windows key + R, type rstrui.exe and press Enter.
- In the Restore system files and settings box, select Next.
- Choose a restore point from before the problem began. If the one you want isn't listed, tick Show more restore points.
- To see which programs will be affected, select Scan for affected programs.
- When you're happy with your choice, select Next, then Finish.
Expected result: Windows applies the restore point and restarts automatically.
4. Restore Your PC When Windows Won't Start
If your PC won't start normally, use the Windows Recovery Environment (Windows RE). There are several ways in:
- Let Windows open it: Windows opens Windows RE by itself after it fails to start correctly several times.
- Force it: interrupt startup twice with the power button. On the third start, Windows shows the Automatic Repair screen; select Advanced options.
- From Settings (if you can sign in): on Windows 11, go to Settings > System > Recovery and select Restart now next to Advanced startup. On Windows 10, the path is Settings > Update & Security > Recovery. You can also hold Shift while you select Power > Restart.
- From a USB drive or disc: start the PC from a recovery drive or Windows repair disc, or from Windows installation media and select Repair my PC > Next.
Then run System Restore:
- Select Troubleshoot > Advanced options > System Restore.
- Choose a restore point. Tick Show more restore points if you need to.
- Optionally select Scan for affected programs.
- Select Next, then Finish.
- When the restore point has been applied, select Restart.
If your drive is encrypted with BitLocker, Windows RE may ask for your BitLocker recovery key before it lets you use these tools, so have it ready.
Expected result: the PC restarts into Windows as it was at the restore point.
5. Check the Result
After the restart, sign in and check the thing that was broken. Then:
- Reinstall what you still need: apps, drivers and updates added after the restore point may have been removed. Reinstall the ones you want, one at a time, so you can spot the one that caused the trouble.
- Install updates again: go to Start > Settings > Windows Update and select Check for updates so you're not left without security fixes.
- Make a fresh restore point: once everything works, create a new restore point (section 2) so you have a good one to come back to.
No Restore Points or Still Not Fixed? What to Try Next
- Point-in-time restore (Windows 11, version 24H2 or later): in Settings > System > Recovery, or from Windows RE under Troubleshoot. It keeps automatic restore points for up to 3 days and rolls back everything, including your personal files, so read the warning below first.
- Uninstall a recent update: if the trouble started after a Windows update, removing that update keeps your files and apps. Some updates can't be uninstalled.
- Go back to your previous version of Windows: available for 10 days after an upgrade to a new version. Your personal files are kept, but apps, drivers and settings changed after the upgrade are removed.
- Startup problems: see our guide to fixing Windows boot issues. To make a USB drive you can start the PC from, see how to create a bootable USB drive or DVD for Windows.
- Reset this PC: the last resort. It reinstalls Windows and lets you keep or remove your personal files, but your apps and settings are removed either way.
Frequently Asked Questions
Will System Restore delete my personal files?
No. System Restore only rolls back system files, installed programs, the registry and system settings. Your personal files are not affected. Apps, drivers and updates installed after the restore point may be removed.
Why are there no restore points on my PC?
System Protection, the feature that creates restore points, is not turned on by default. Open Create a restore point from the Start menu, select Configure..., choose Turn on system protection and select Apply. Windows then creates restore points automatically when needed.
How much disk space do restore points use?
You decide. When you turn on System Protection, a slider sets the maximum disk space it can use. You can change it any time from the same Configure... button.
What is the difference between System Restore and point-in-time restore?
System Restore only rolls back system files and settings and leaves your personal files alone. Point-in-time restore, in Windows 11 version 24H2 or later, rolls back everything, including personal files, to an automatic snapshot from the last 3 days. Microsoft suggests System Restore when you need to go back further than 3 days.
Can I use System Restore if Windows won't start?
Yes. Open the Windows Recovery Environment (Windows opens it after several failed starts, or you can interrupt startup twice with the power button), then select Troubleshoot > Advanced options > System Restore.
Does System Restore work on Windows 10?
Yes, the steps are the same on Windows 10 and Windows 11. The only difference is the Settings path to Advanced startup: Update & Security > Recovery on Windows 10 instead of System > Recovery.
How This Guide Was Checked
- Written by
- Chris, WinZip Team. Updated by the WinZip Team in November 2026.
- First published
- September 15, 2023
- Sources reviewed
Related Guides



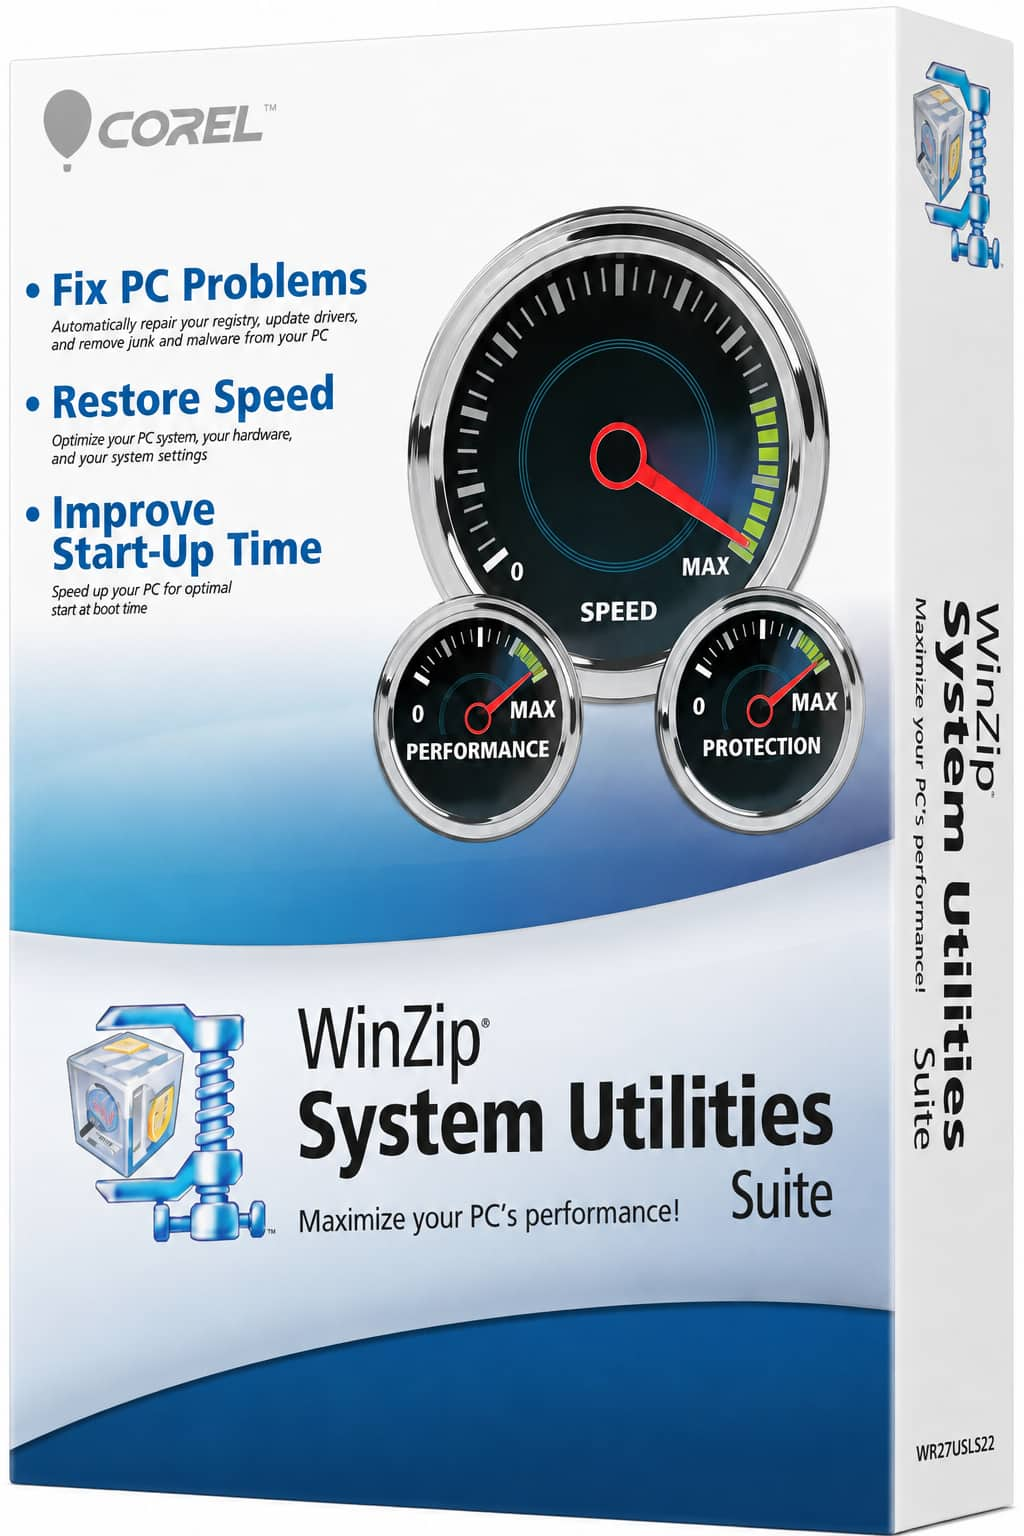
Speed Up Your PC With WinZip System Utilities Suite
- Clean junk files and free up disk space
- Update outdated drivers
- Speed up startup
- Optimize and defrag your drives