
How to Create a Bootable USB Drive or DVD for Windows
Make Windows 11 installation media on a USB drive or DVD with free Microsoft tools, then start your PC from it.
Setting up a fresh Windows install? Once it's installed, WinZip System Utilities Suite's one-click scan checks for outdated drivers and junk files, and Startup Manager tidies startup apps.
Quick Answer
To make a bootable Windows 11 USB drive:
- On a working PC, open Microsoft's Download Windows 11 page and download the Media Creation Tool.
- Plug in a blank USB flash drive with at least 8 GB of space. Everything on it will be erased.
- Run the tool as administrator, accept the license terms and choose Create installation media for another PC > Next.
- Pick the language, edition and 64-bit architecture, then choose USB flash drive (or ISO file if you want to burn a DVD).
- To use it, restart the PC with the drive attached and press the boot menu key, such as F2, F12, Delete or Esc, if it doesn't start from the drive by itself.
How you know it worked: the PC starts from the USB drive or DVD and shows the Install Windows page, asking for your language, time and keyboard settings.
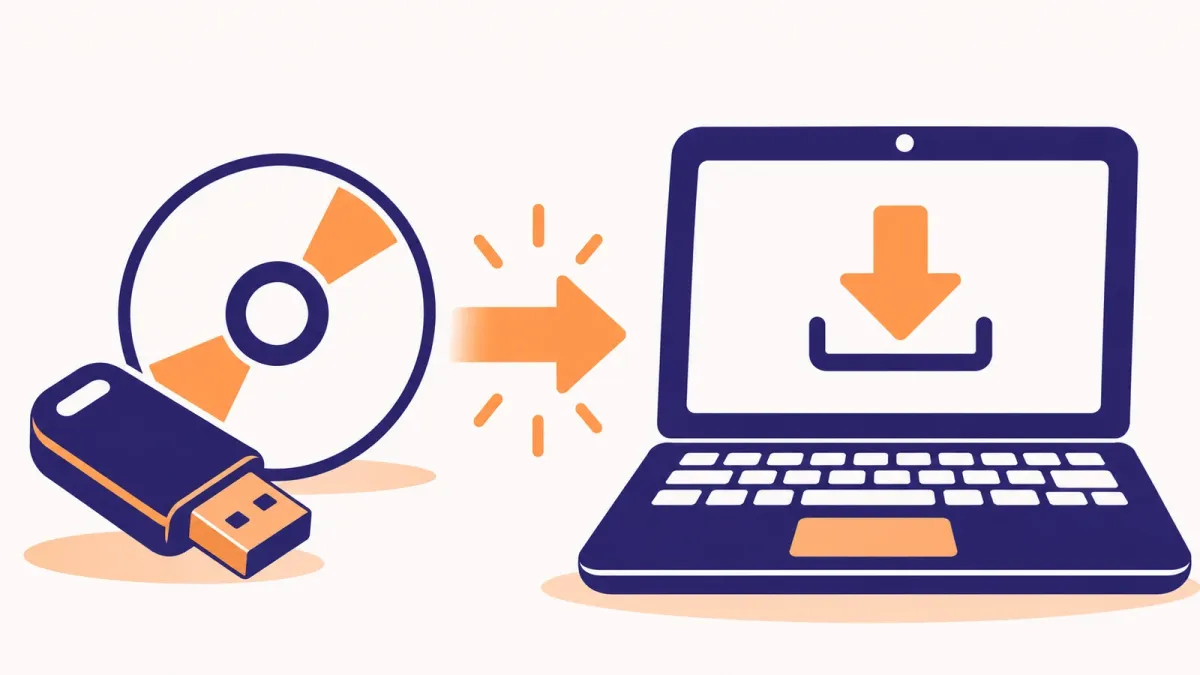
A bootable USB drive or DVD lets you start a PC from something other than its own drive. With Windows on it, you can install Windows on a new or wiped PC, reinstall it, or open the repair tools when Windows won't start. Microsoft gives you free tools to make one, so you don't need to download anything from other websites.
The steps below make Windows 11 media. If you still need Windows 10 media, Microsoft offers the same tool on its Windows 10 download page, but Windows 10 support ended on October 14, 2025, and Microsoft recommends moving to Windows 11.
1. Check What You Need
- A working Windows PC with a reliable internet connection. The download takes a while on a slow connection.
- A blank USB flash drive with at least 8 GB of space, or a blank DVD (at least 8 GB) and a DVD burner. Everything on the drive or disc is erased.
- A 64-bit PC to install on. Windows 11 only runs on 64-bit processors, and the Media Creation Tool only makes media for x64 processors. Arm-based PCs should wait for Windows Update to offer Windows 11 instead.
- Your product key, if you have one. You may be asked for a 25-character key. PCs with a digital license don't need one, and a key stored in the PC's firmware is used automatically if it matches the Windows edition.
Expected result: you have a blank drive or disc ready and know the PC you'll install on is 64-bit.
2. Create a Bootable USB Drive With the Media Creation Tool
This is the easiest method: Microsoft points to its download page and this tool as the easy, automated way to make a bootable Windows drive.
- Go to Microsoft's Download Windows 11 page and, under Create Windows 11 Installation Media, select Download Now to get MediaCreationTool.exe.
- Plug in your USB flash drive.
- Right-click the tool and run it as administrator, then accept the license terms.
- On What do you want to do?, select Create installation media for another PC, then Next.
- Choose the language, edition and 64-bit architecture. Microsoft says you need to choose the same language when you install Windows 11.
- Under Select which media you want to use, choose USB flash drive, pick your drive and follow the prompts.
Expected result: the tool finishes without errors, and when you open the USB drive in File Explorer you see the Windows setup files, including setup.exe.
3. Make a Bootable DVD From an ISO File
To use a DVD, first save Windows as an ISO file (a single disc image file), then burn it.
- Run the Media Creation Tool as in section 2, but under Select which media you want to use, choose ISO file and save it somewhere you'll find it.
- When the tool finishes, select Open DVD burner to burn the file to a blank DVD.
To burn an ISO file later with Windows Disk Image Burner:
- Right-click the ISO file and select Properties.
- On the General tab, select Change... next to Opens with, choose Windows Explorer and select Apply.
- Right-click the ISO file again and select Burn disc image.
If you see a message that the disc image file is too large, use a higher-capacity Dual Layer (DL) DVD.
Expected result: the burner finishes without errors and the DVD shows the Windows setup files when you open it in File Explorer.
4. Make a Bootable USB Drive From an ISO You Already Have
If you already have a Windows ISO file, you can turn a USB drive into a bootable one with the built-in Recovery Drive app and File Explorer. Microsoft describes this method for its Windows Insider ISO files; it uses only tools that come with Windows.
- Plug in a USB drive of at least 8 GB. Back up anything on it you want to keep, because it will be erased.
- Search for Recovery Drive in the Start menu and open it.
- Untick Back up system files to the recovery drive and select Next.
- Select your USB drive, select Next, then Create. The drive is now bootable.
- Right-click the ISO file and select Mount. It opens as a new drive letter in File Explorer.
- Copy everything from the mounted ISO onto the USB drive.
- When the copy finishes, open the mounted drive in File Explorer and select Eject in the toolbar.
Windows installation drives use the FAT32 file system, which can't hold a single file larger than 4 GB. If the copy stops because sources\install.wim is too large, the simplest fix is to use the Media Creation Tool in section 2. Advanced users can follow Microsoft's method instead: copy everything except that file, then split it with DISM. For example, with the ISO mounted as D: and the USB drive as E:, run these in an administrator Command Prompt:
- robocopy D: E: /s /max:3800000000
- Dism /Split-Image /ImageFile:D:\sources\install.wim /SWMFile:E:\sources\install.swm /FileSize:3800
Expected result: the USB drive contains the same folders as the ISO, including setup.exe and the sources folder.
5. Start Your PC From the USB Drive or DVD
- Back up your files and save your work.
- Attach the USB drive or insert the DVD, then restart the PC.
- If the PC starts Windows as usual instead, open the boot menu or change the boot order in the BIOS/UEFI settings. This usually means pressing a key such as F2, F12, Delete, Esc or F10 straight after you turn the PC on. Your PC maker's instructions list the right key.
- Choose the USB drive or DVD from the list.
- On the Install Windows page, check the language, time and keyboard settings and select Next. Then select Install Windows to install, or use the repair option to open the recovery tools.
If you changed the boot order, set it back after Windows is installed so the PC starts from its own drive again.
Expected result: Windows Setup starts from the USB drive or DVD.
PC Won't Start From the Drive? What to Try Next
- The USB drive or DVD isn't in the boot menu: you may need to turn off Secure Boot for a while. Check with your PC maker before you change it.
- The PC goes straight back to Windows: make sure it fully shut down. Use Shut down from the power menu rather than a restart, then turn it on and press the boot menu key.
- The PC is Arm-based: the Media Creation Tool only makes media for x64 processors, so wait for Windows Update to offer Windows 11.
- Windows won't start and you only need to repair it: start from the drive and choose Repair my PC to open the Windows Recovery Environment. See how to use a System Restore point and how to fix Windows boot issues.
Frequently Asked Questions
How big does the USB drive need to be?
At least 8 GB. Microsoft recommends a blank drive, because the Media Creation Tool deletes everything on it.
Do I need a product key to make installation media?
Possibly. You may be asked for a 25-character product key, but PCs with a digital license don't need one, and a key stored in the PC's firmware is applied automatically if it matches the Windows edition.
Why does Windows say the disc image is too large for my DVD?
The Windows disc image is too big for the disc you're using. Microsoft says to use a higher-capacity Dual Layer (DL) DVD instead, or use a USB drive of at least 8 GB.
Why won't my PC start from the USB drive?
Usually the PC is still set to start from its own drive. Open the boot menu or change the boot order in the BIOS/UEFI settings, usually with F2, F12, Delete or Esc right after turning it on. If the drive still isn't listed, you may need to turn off Secure Boot for a while; check with your PC maker.
Can I make Windows 10 installation media?
Yes. Microsoft's Windows 10 download page has its own Media Creation Tool. Windows 10 support ended on October 14, 2025, though, and Microsoft recommends moving to Windows 11.
Does the Media Creation Tool work for Arm-based PCs?
No. It only creates media for PCs with x64 (64-bit) processors. Microsoft says Arm-based PCs should wait for Windows Update to offer Windows 11.
How This Guide Was Checked
- Written by
- Chris, WinZip Team. Updated by the WinZip Team in November 2026.
- First published
- January 14, 2019
- Sources reviewed
Related Guides



Speed Up Your PC With WinZip System Utilities Suite
- Clean junk files and free up disk space
- Update outdated drivers
- Speed up startup
- Optimize and defrag your drives