
How to Fix a USB Drive That Won't Eject in Windows 11 and 10
Safely eject a USB drive that Windows says is still in use, without risking your files.
Keep your PC running smoothly. WinZip System Utilities Suite cleans junk files, updates drivers and manages the apps that start with Windows.
Quick Answer
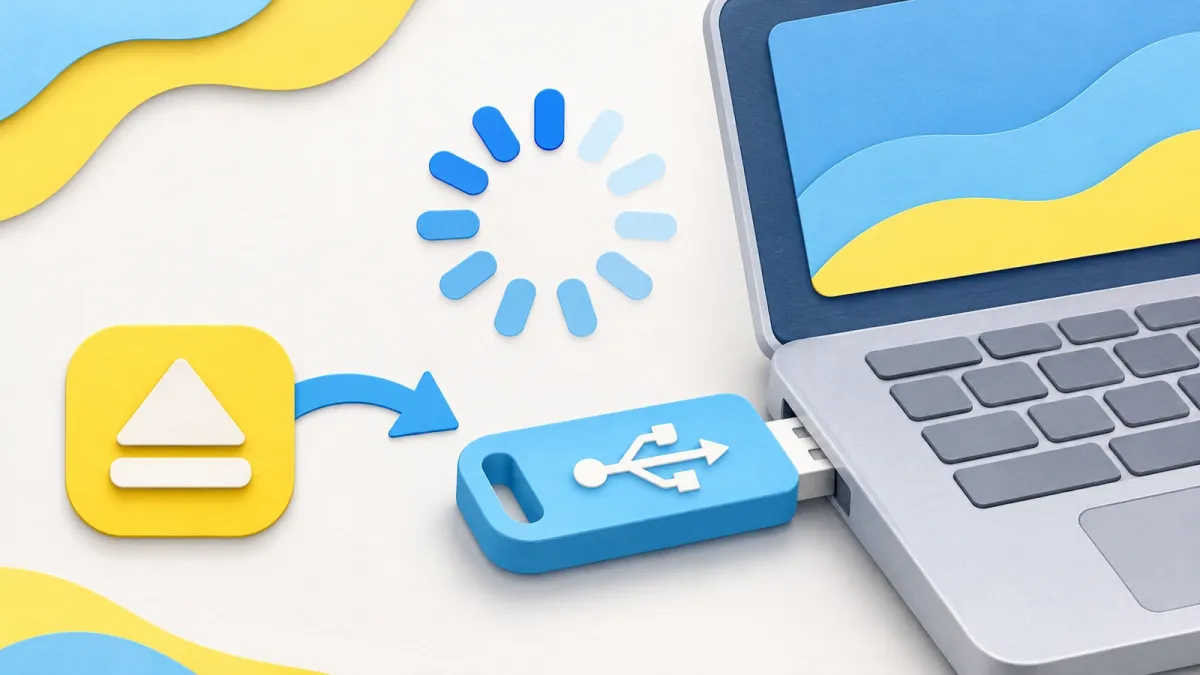
To eject a USB drive Windows won't let go of:
- Save and close any files, apps and File Explorer windows using the drive.
- Right-click the Safely Remove Hardware and Eject Media icon in the system tray and select Eject for your drive.
- Or go to Settings > Bluetooth & devices > Devices, expand the drive under Other devices and select Remove.
- Still in use? Sign out or shut down, then unplug the drive.
How you know it worked: Windows shows Safe To Remove Hardware, or the drive disappears from the eject menu or the Other devices list.
Microsoft recommends always removing USB drives safely, so that nothing is lost from files still being written. When Windows refuses to eject a drive, it's usually because an app or window still has a file on it open. Work through the steps below in order. Each one gives the Windows 11 steps first, with Windows 10 differences where they matter.
1. Close Everything That's Using the Drive
If you see a message such as "This device is currently in use", Windows is telling you something still has the drive open.
- Save any document, photo or other file you opened from the USB drive, then close it.
- Close any app you started from the drive.
- Close File Explorer windows that are showing the drive or a folder on it.
- If an app has stopped responding, press Ctrl + Shift + Esc to open Task Manager, select the app and choose End task.
Expected result: nothing on your screen is showing or using a file from the USB drive.
2. Eject With Safely Remove Hardware
- Right-click the Safely Remove Hardware and Eject Media icon in the system tray, next to the clock. If you can't see it, select Show hidden icons first.
- Select Eject followed by the name of your drive.
- Wait for the Safe To Remove Hardware notification, then unplug the drive.
The steps are the same in Windows 10.
Expected result: the notification appears and the drive is no longer listed in the eject menu.
3. Remove the Drive From Settings
If the tray icon doesn't work, you can remove the drive from Settings instead.
- Select Start > Settings > Bluetooth & devices > Devices.
- Under Other devices, expand your USB drive.
- Next to Remove this device, select Remove. Make sure it's the button directly below your drive, not another device.
Windows 10: go to Start > Settings > Devices > Bluetooth & other devices. Under Other devices, select the drive, select Remove device, then select Yes.
Expected result: the drive disappears from the Other devices list and can be unplugged.
4. Bring Back a Missing Safely Remove Hardware Icon
The icon may not appear if no removable device is connected, or if Windows doesn't recognize the drive. If your drive is connected and working, turn the icon on:
- Right-click the taskbar and select Taskbar settings.
- Expand Other system tray icons.
- Turn Safely Remove Hardware and Eject Media to On.
Windows 10: right-click the taskbar, select Taskbar settings, then under Notification area select Select which icons appear on the taskbar. Turn on Windows Explorer: Safely Remove Hardware and Eject Media. There can be several "Windows Explorer" entries, so check you've picked the right one.
Expected result: the icon appears in the system tray while the drive is plugged in.
5. Sign Out or Shut Down, Then Unplug
If the drive still won't eject and you can't find what's using it, signing out or shutting down closes every app that could be holding it open.
- Save your work.
- Select Start > Power > Shut down.
- When the PC is fully off, unplug the drive.
Expected result: you can remove the drive with nothing running, then start your PC again as normal.
6. Check the Drive's Removal Policy
Windows has two removal policies for USB drives and other external storage, and you can set them for each drive:
- Quick removal: keeps the drive ready to remove at any time, so you can unplug it without using Safely Remove Hardware. Windows can't cache writes to the drive, which can make it slower. This is the default since Windows 10 version 1809.
- Better performance: lets Windows cache writes to the drive for speed, but you must use Safely Remove Hardware every time.
To check or change it:
- Connect the drive and note its letter in File Explorer (for example, USB Drive (D:)).
- Right-click Start and select Disk Management.
- In the lower part of the window, right-click the drive's label and select Properties.
- Select the Policies tab. If you don't see it, select Hardware, choose the drive from All disk drives, select Properties, and the Policies tab should appear.
- Choose the policy you want and select OK.
Expected result: the drive keeps the policy you chose each time you plug it into the same USB port.
Still Not Working? What to Try Next
- Install Windows updates: select Start > Settings > Windows Update > Check for updates (Windows 10: Update & Security > Windows Update).
- Find a background program holding the drive: a clean boot starts Windows with only essential drivers and startup programs, which helps you spot background software that conflicts with other apps. Search for msconfig, open System Configuration, and follow Microsoft's clean boot steps. Remember to return to Normal Startup afterwards.
Frequently Asked Questions
Do I have to eject a USB drive before unplugging it?
Microsoft recommends always removing drives safely to avoid losing data. With the default Quick removal policy (Windows 10 version 1809 and later), Windows keeps the drive ready to remove at any time, but you should still never unplug it while a file is being copied or saved. With Better performance, you must eject it first.
Why does Windows say the device is currently in use?
Something still has the drive open: a document, an app started from the drive or a File Explorer window showing it. Save and close them, then try again. If you can't find it, sign out or shut down, then unplug the drive.
Why is the Safely Remove Hardware icon missing?
It may be among the hidden icons, so select Show hidden icons in the system tray. It also doesn't appear when no removable drive is connected or Windows doesn't recognize it. To turn it on, go to Taskbar settings > Other system tray icons.
What's the difference between Quick removal and Better performance?
Quick removal keeps the drive ready to unplug at any time but stops Windows caching writes, which can be slower. Better performance caches writes to speed things up, but you must use Safely Remove Hardware every time. You can set either one per drive in Disk Management.
Can I eject a USB drive from Settings instead of the taskbar?
Yes. In Windows 11, go to Settings > Bluetooth & devices > Devices, expand the drive under Other devices and select Remove. When it disappears from the list, you can unplug it.
How This Guide Was Checked
- Written by
- Chris, WinZip Team. Updated by the WinZip Team in November 2026.
- First published
- October 20, 2019
- Sources reviewed
Related Guides
Speed Up Your PC With WinZip System Utilities Suite
- Clean junk files and free up disk space
- Update outdated drivers
- Speed up startup
- Optimize and defrag your drives